.png)
Timer Feature
Does RemotePhoto allow for a timer? As of Version 26.03.02 it does!
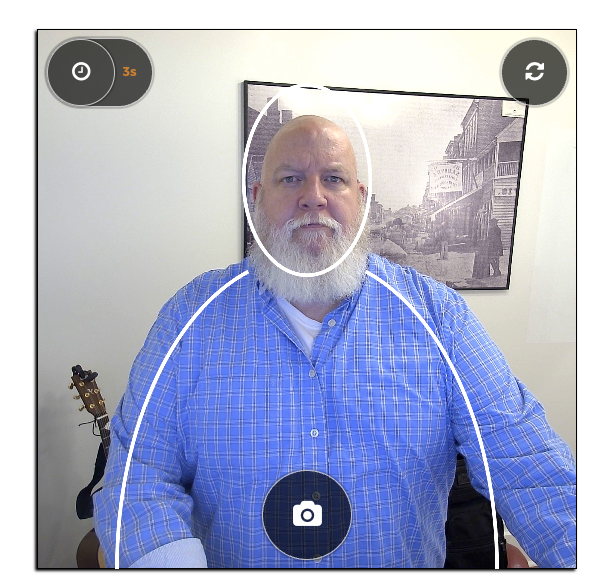
The timer feature was requested specifically by customers who desire a different photo size that is more like a headshot (mid chest to top of head) and less like a selfie ( neck and collar bone to top of head) size and style. We saw the use case as we were moving into healthcare and business verticals.
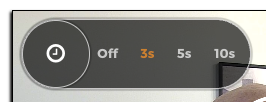
The timer is turned on by the Director Roles. And if the timer is given, the feature is built to give the user flexibility to adjust the timer length to their needs - whether they need more time to step back and frame the shot, or less time if they are ready quickly.
The timer allows for a larger photo area to be included in the badge photo.
Here are the steps to turn on the timer feature in RemotePhoto:
|
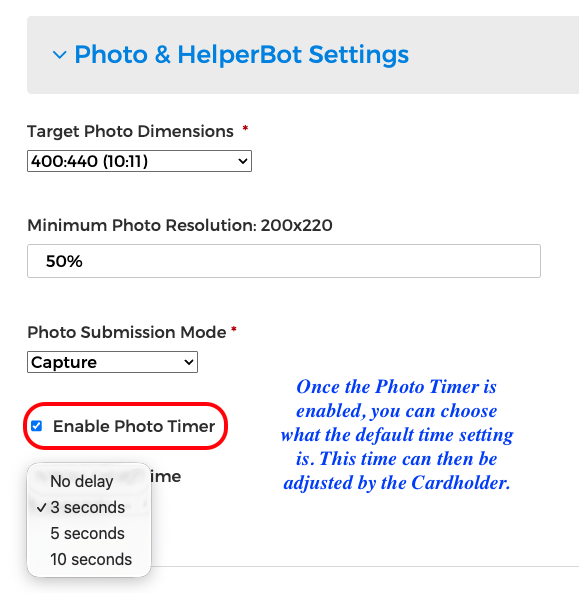
Steps for Director to Turn on Timer:
|
|
|
|
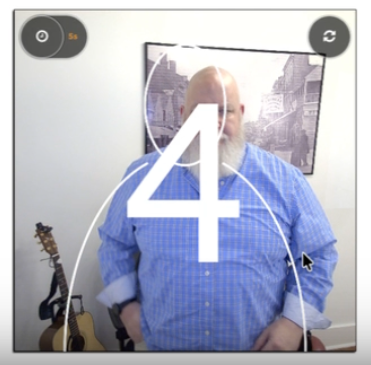
What the Cardholder will experience:
|
|
|
|
| The processed photo is in the Organization Photo Queue. |
|

The timer feature provides more flexibility for users to capture a more professional, posed style, ID photos beyond just a quick selfie. If you have any questions on this feature or any feature, please reach out to support@remotephoto.ai.